- How to repair or replace the brush perforator Makita 2450 and 2470
- How to remove the electro punch Makita
- How to make your own brushes?
- installation brushes
- How to determine the integrity of the stator, without disassembling the hammer
- Removing the stator punch Makita 2450 and 2470 for accurate diagnosis and repair
- Installation and assembly of the new rotor
Any power tools eventually begin to fail. Faults are divided into mechanical and electrical. From electrical Faults occur most frequently, concerning the refusal of work brushes. In second place: failure of the armature bearing. Less common fault, associated with the failure of the stator or the rotor.
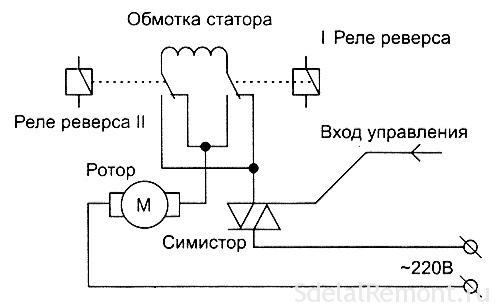
And how to determine the stator fault, perforator rotor Makita 2450 and 2070, replace the brush? And here we will help the circuit diagram of the gun Makita 2450, 2470.
How to repair or replace the brush perforator Makita 2450 and 2470
At this, that requires replacement brushes punch, indicates increased sparking in the area of the rotor collector, the smell of burning, brush holders heating.
A new or repaired punch spark under brushes should evenly, Fixed-length and there is no separation of the sparks in a circle.
The wear of bearings, damage insulation of the rotor or stator uniquely specifies a spark across the range of the collector. The appearance of such a spark indicates burn-collector plates, failure of the stator or the rotor.
How to remove the electro punch Makita
Usually, brush is recommended to change after 70 ... 120 Power tools.
To replace the carbon brushes poz.65, they must be accessible.
From the gun is necessary to remove the back cover, it is attached by three self-tapping screws.
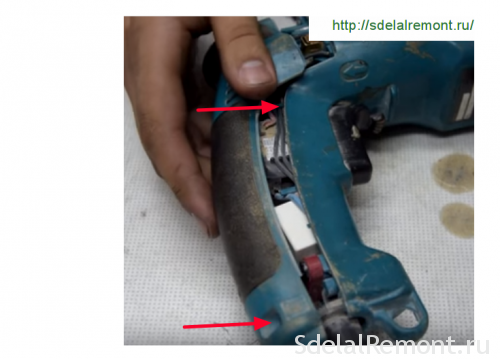
Disconnect lead wires. Use a screwdriver to lift the latch on the brushes and to release them.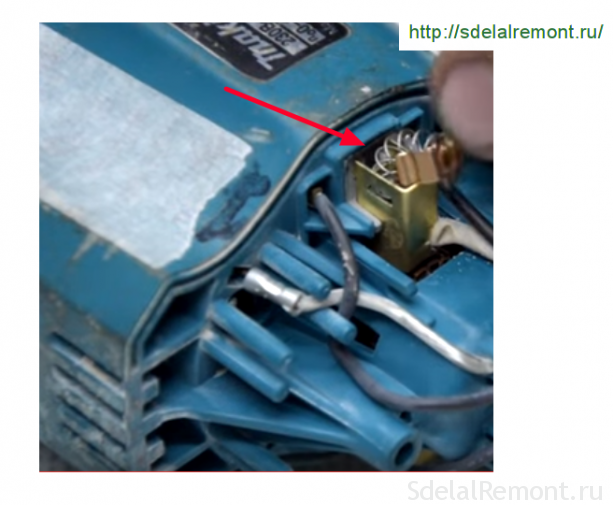
Remember! In long-term operation tool is not allowed to decrease the length of the working part from face to brushes 1/3 (about 8 mm).
When one brushes wear must be replaced either.
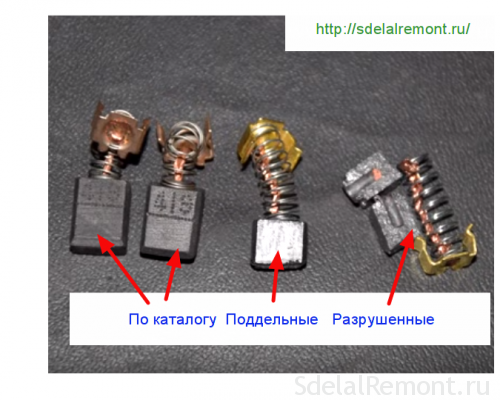
by the way, fake, too, can work well, if it made of the right material and strictly according to the drawings.
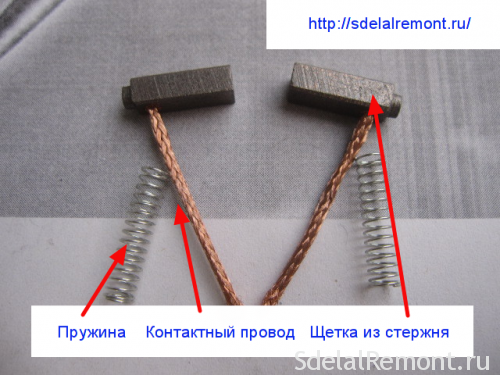
How to make your own brushes?
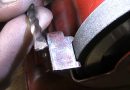
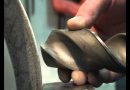
The cheapest electro pick up from other models of power erode to the desired size is usually a file. It sparingly but they last less than original. You can optionally fit the carbon rod battery or other items.

It is necessary to take the battery and remove it from the central carbon electrode. It is necessary to grind the electrode using the Needle to the desired size of the old electro.(This information is for guidance only and is not essential for the application of)
It is worth noting that the quality of the graphite has a direct impact on the service life and sparks
making sure, that the brushes are worn out, Pick analogues.
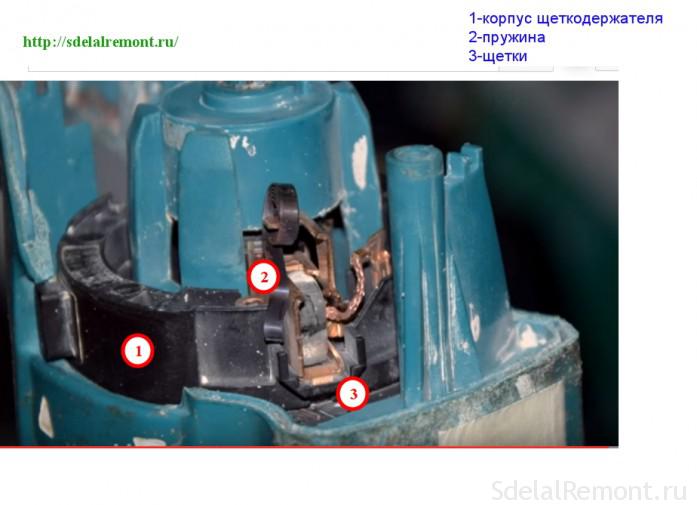
installation brushes
Before inserting the brush in place, brush holders must be cleaned of soot. This is done using a rag, dipped in solvent. Nagar the particulate, obtained under vigorous sparking preferable to remove fine needle files. Cleared brush holders are set into place, they are inserted into the top of the brush and clamped snaps.
How to determine the integrity of the stator, without disassembling the hammer
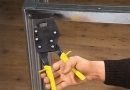
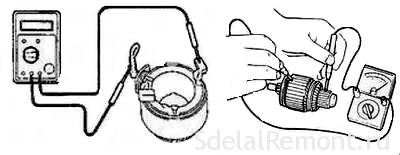
To determine the integrity of the stator, it is necessary to ring winding, measure winding resistance and insulation resistance.
one end of the tester should be connected to the measurement winding punch Makita resistance to the release of the brush holder, and the second one of the ends of the plug. If the device does not show anything, adjust the second end of the plug. If the resistance is infinity, stator broken and requires replacement or repair. Do not forget, without schematic diagrams perforator Makita 2450,2470 you can not do.
If it shows any resistance, it is important to accurately measure its value. Usually, resistance of the stator winding perforator Makita-2450 at a temperature of + 20 ° C is in the range 25 ohm.
In more detail to understand why there is a spark of the armature collector and which brush is best? It will help you understand video, at the end of a video overview of important advice on the selection of brushes
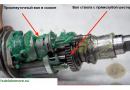
Removing the stator punch Makita 2450 and 2470 for accurate diagnosis and repair
To remove the stator poz.59, it is necessary to remove the brush, unscrew four screws securing mechanical unit cover. They twist in the end cap.
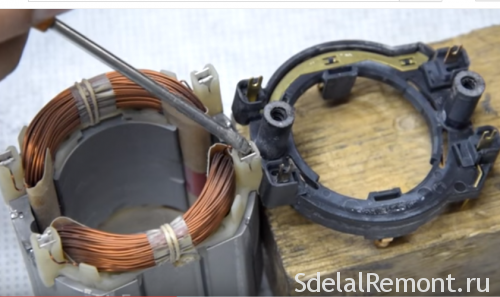
Pulling the black case and green in different directions you free housing with the stator. The stator is fixed in a green housing.
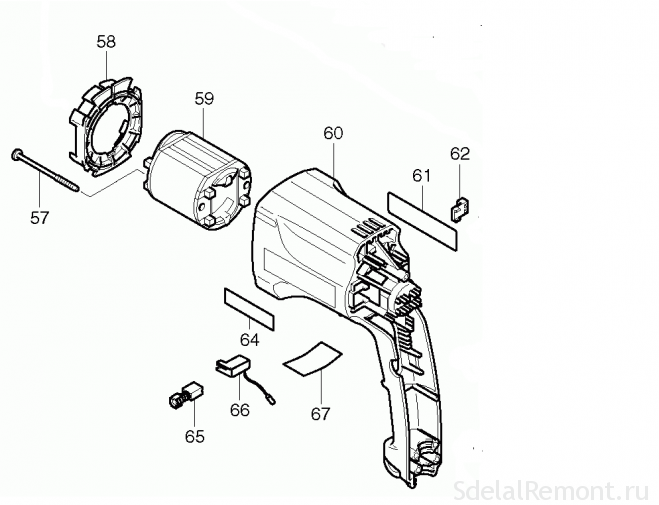
To take it off, it is necessary to remove the plastic spacer poz.58 and tap the end of the housing a wooden mallet or a bar. The stator itself will pop out, it will pull out, blow the final check.
If you have a short-circuit testing device, you can immediately check on the stator short-circuit. Device called IR-32.
To verify that the stator windings
For accurate inspection disconnect two stator windings from each other in an electrical circuit. Check the resistance of each winding, they must be absolutely identical. If the difference of resistance, winding with less resistance is likely interturn short circuit.
Checking the stator punch Makita 2470 and 2450 their own hands
diagnosis anchor, stator device fault and homebrew twig
How to check the validity of the rotor rotary hammer Makita
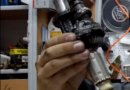
Check validity of the rotor in the punch Makita begin with its removal from the body.
But first it is necessary to carry out external investigations. If the rotor of a spark from the brushes on the collector manifold cover weight, if during the operation the punch does not develop speed and power he fell, is the first sign of failure of the rotor.
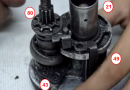
How to get the rotor housing
To get out of the rotor housing, it is necessary to divide the black and green body as in the case with the dismantling of the stator.
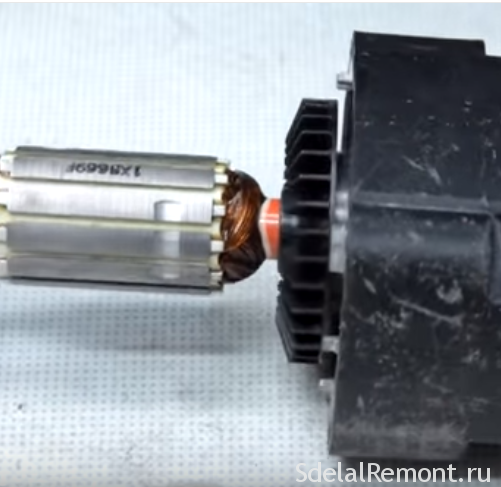
Disconnecting the stator housing, Take the gear housing(black color) in his right hand, and the rotor to the left and pull it in different directions to their complete separation. The rotor is held in the gearbox due to friction bevel gears.
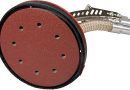
Carefully inspect the rotor manifold. It should not be a trace of scratches from brush. Lamella collector must be clean.
To check the integrity of the collector must use the device for the detection of short-circuit. A dial circuit according easiest to produce schematic diagrams perforator Makita 2470,2450. by the way, such a device can make and to, if you know how to communicate with a soldering iron.

If you are convinced of the rotor fault, it is possible to install a new, but you can try to recover the failed.
Installation and assembly of the new rotor
Replacement of the rotor does not require special knowledge and can be performed by any user.
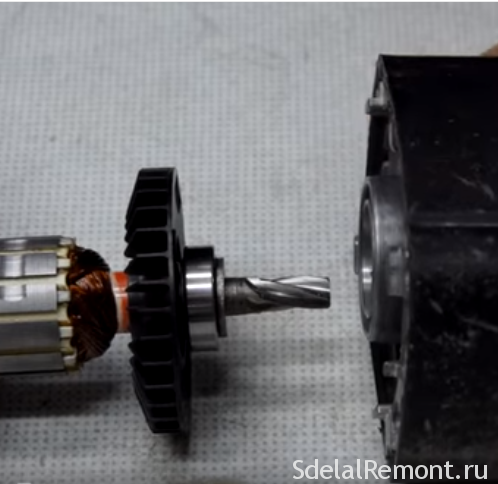
The rotor is inserted into the mechanical block spur gear until snug.
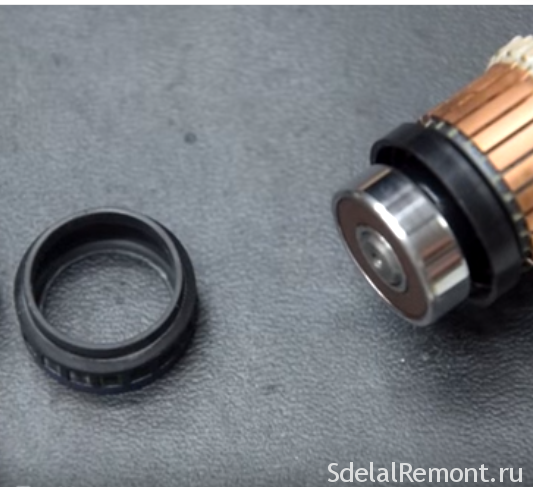
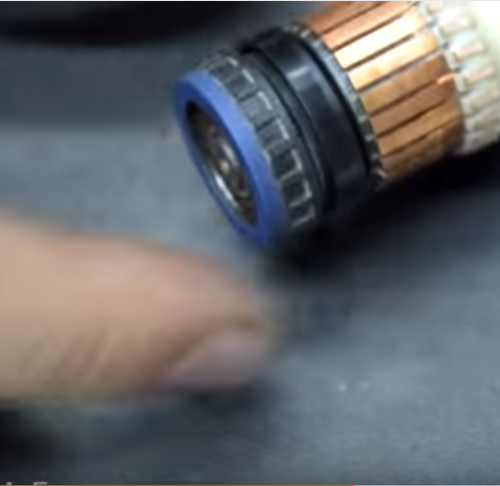
Remember! It is important to establish poz.56 bearing and rubber ring 10 poz.77.
The perforator Makita 2450 the rotor is applied on the collector side bearing 607LLB poz.56 or domestic analogue 80017, and from the impeller bearing is mounted poz.53 609LLU poz.51 or equivalent 80019.
installing the rotor, closed its case, put in place and test the electro punch.
Everything! You coped with the difficult task. puncher works.