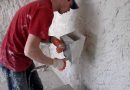
If you have defined, that has failed in your punch stator, and funds for the new you do not have, or there is a desire to make repair parts with their hands, then this guide is for you. Dismantling Makita rotary hammer so simple, that repairs Makita 2450, 2470 It does not cause too much difficulty. The main thing - stick to tips, in this article.
Repair punch can independently perform every user, having skills fitter and able to handle the diagnostics devices.
Beginning of work
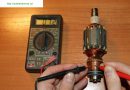
Any repair begins with a visual inspection of the faulty part. How to find fault punch stator Makita 2450? Stator failure often indicate the presence of traces of burnt insulation burning smell. This is the first sign of a short circuit of the stator windings.
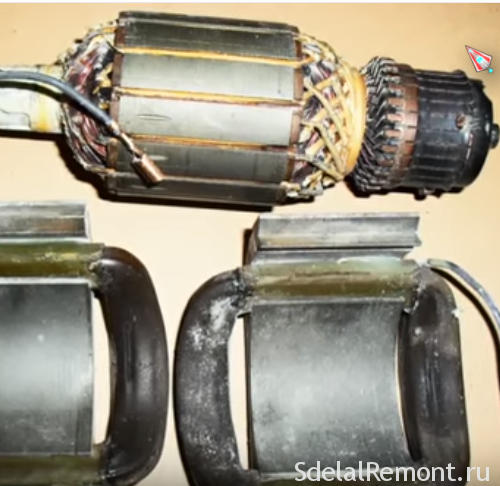
But breakage can be defined only by the continuity test circuit of the windings.
Algorithm disassembly and manufacturing the stator perforator Makita 2450,2470
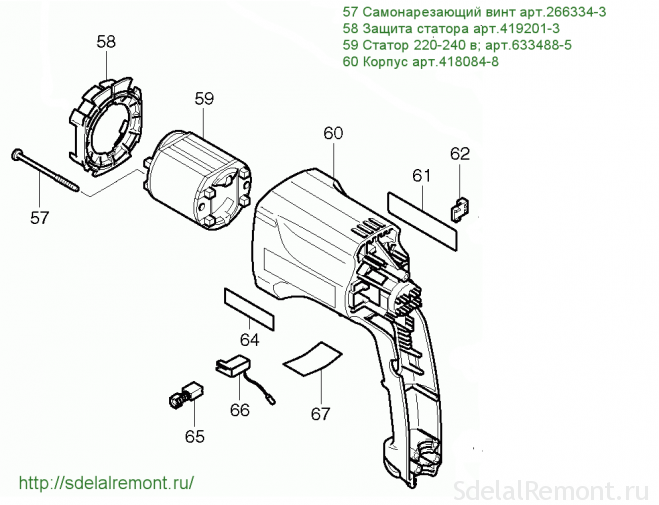
Here is the sequence in the manufacture of stator punch Makita 2450:
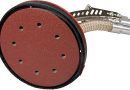
- Extract from the stator housing assembly.
- Removal of the old coil, definition winding direction, wire diameter.
- Winding coil according to new templates collected data.
- Preparing for new coil insulation.
- Isolation of new coils.
- Installation finished coils into the slots of the core and winding coils in the core.
- Podpayka terminals to the ends of the coils.
- Reservation of new winding coils.
- Impregnation of wound coils.
- stator assembly.
First things first
Stage I
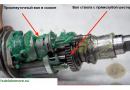
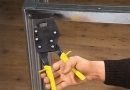
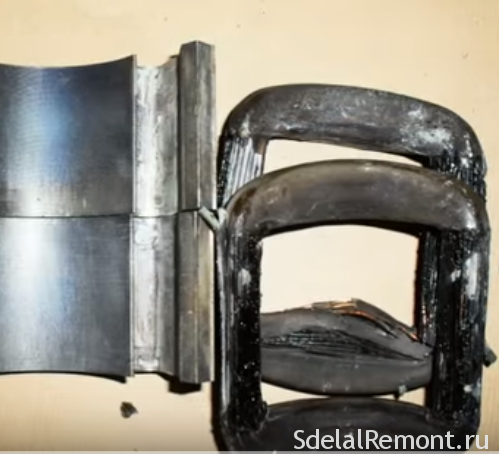
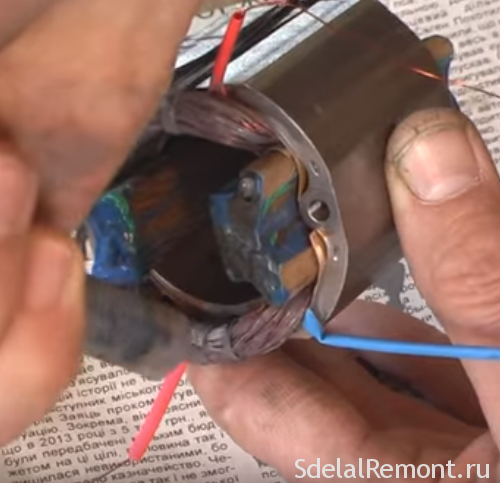
To disassemble the stator use a wooden mallet or a bar. Tapping on the end face of the stator housing, remove from the stator housing. by the way, to get a stator, must disconnect the stator housing from the body of the mechanical part.
Do not forget to disconnect power supply wires from the terminals of the stator, coming out in the reservoir area. One end is attached to the brush holder, and the other end to the wire, The power supply cable 220V.
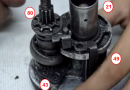
It's time to split it into two halves.
Stage II
Option collapsible stator
The two stator halves are glued together with a thin layer of glue. To separate one from the other, it is necessary to hit mallet on the stator core. If you got no folding stator, the dismantling of the wire is carried out by cutting one end all turns clippers. cutting the, disassembling, We take out the wire and measure the wire diameter and number of turns. For measuring the diameter of the wire, only use the mic. Pre-wire it is necessary to burn the flame matches, wipe the soot and, cool, measure.
Most often, the coils are impregnated with insulating varnish, not allowing split wires.
When using a commercial hair dryer to preheat coil disintegration into individual wiring. Heat the wires can be impregnated in a gas furnace and above the burner.
Analyzing the stator, it is necessary to perform measurements. We need to measure the diameter of the wire, the number of turns in a single coil, stator slot fill percentage, material, of which the wire. It is recommended to wind the copper wire only.
Wires are classified according to the cross-section. Measure the diameter of the wire, recalculate its formula section S=HR², Where r=½d.
And now, in plain language: cross section is 3,14 multiplied by half the diameter of the square.

Why all this garden. If it turns out, that you have a different diameter wire, the calculations can not do without. If there is a thin wire, the winding can be carried out in 2 ... 3 wires, the main thing, their total cross section was less than the initial.
If there is a slightly larger diameter wire, it can be wound up and their, provided, that the old drive was incomplete filling slots.
Stage III
stator winding, the disposable option
Winding the stator coils need to prepare a wire passing diameter, Insulating or pressboard, Scotch, the shrinking of the desired diameter.
If you are not folding stator, something in his sleeve grooves must be done from pressboard, cutting out the blank of the stator width.
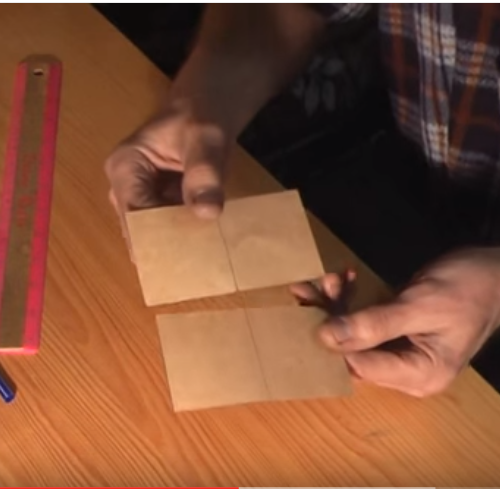
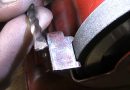
Blanks are cut from the width of pressboard, of equal width and length of the stator, equal to the length of the internal groove. by the way, to the width of the stator must be added on 2 mm on each side. cut blank, their edges seal the wide tape. Stator punch Makita suitable width tape 50 mm.
Stick adhesive tape to the strip one side of the workpiece, razrezhyte. On the second strip of adhesive tape stick workpiece same side, but the other edge. Your task, close the edge of the blanks from the gusts at winding.
Production tool strips
To facilitate the process of winding by hand, Make a simple device, representing the soft metal strip thicknesses of up to 0,8 mm. This may be galvanized steel, copper, aluminum. The strips are with-shaped plate width 10 mm and length 70 mm.
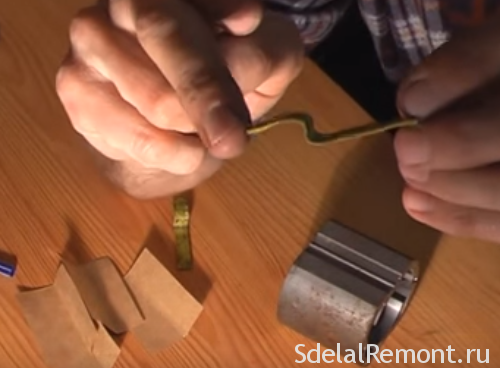
On a smaller hook accommodate wear and heat shrink tube over the flame, Crimp plate tip.
The obtained secure plate using adhesive tape on the stator housing.
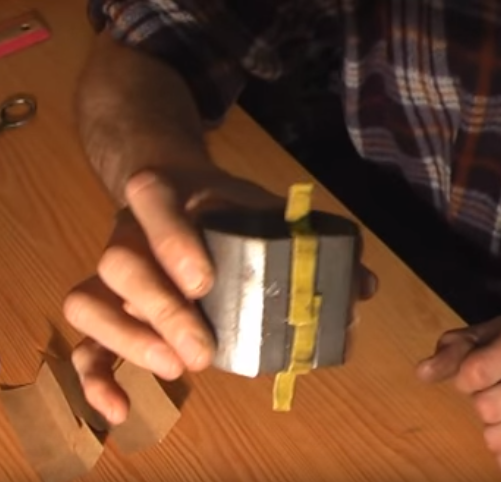
The winding process
wire prepared, plate fixture secured, data on the number of turns on hand. Forward!
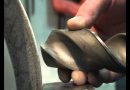
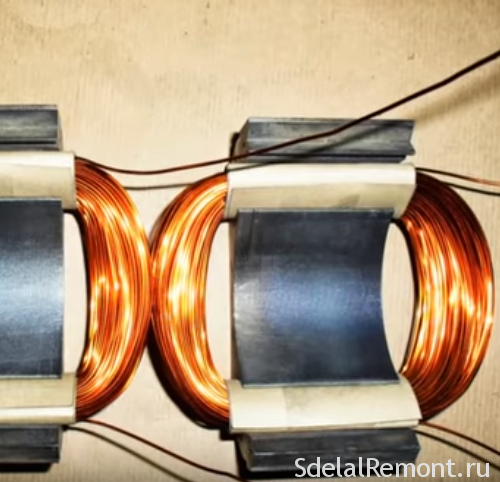
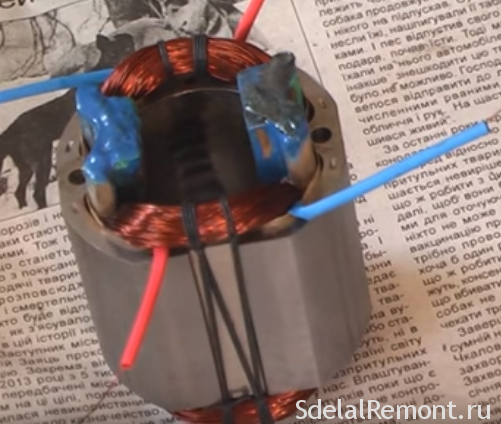
Put on a knee stator, we start end of the wire, put on him shrink tubing red (it indicates the beginning of the winding), anchoring sleeve on the outer side of the stator and begin to wind. by the way, cambric color can be any, you only need to select a different color for the beginning and end of the winding.
The winding process is a large supply of wire in the groove finger, wire facility for hook plate accessories, pulling wires and establishment of a hook plate with the other hand.Most importantly - make sure the number of wound turns. Weight winding process is repeated for the second coil.
It's all perfectly clear on the video offers.
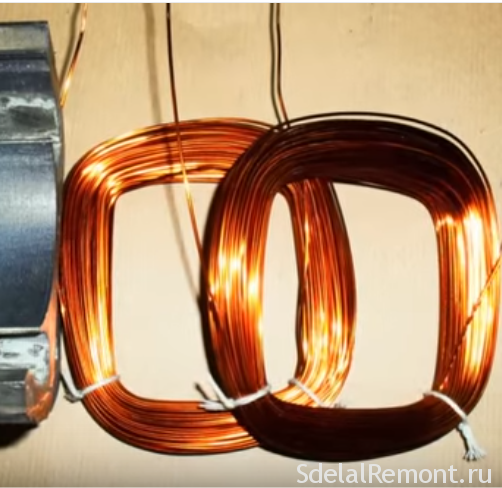
Everything! stator wound. It is necessary to carefully link the winding, Make a booking.
Stage IV
How to Book the stator windings
Booking calls tying stator coils, protecting them from breaking during operation. At high speeds different vibrations affect all parts, that leads to destruction of the integrity of the windings, their rubbing against each other and insulation faults.
It is time to do impregnation.
Stage V
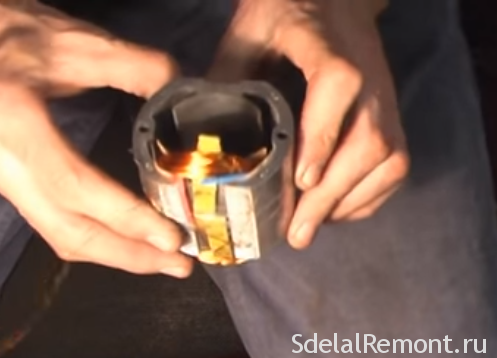
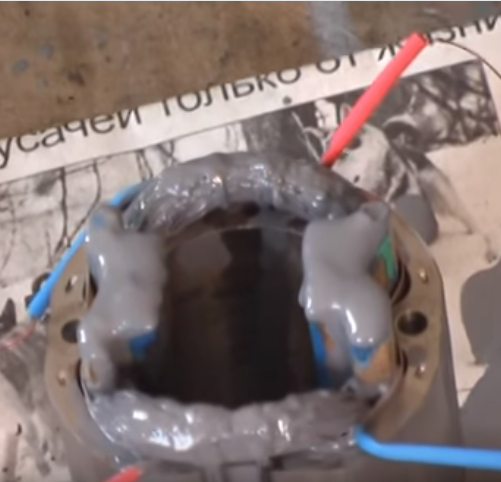
The process of impregnating the stator winding
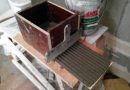
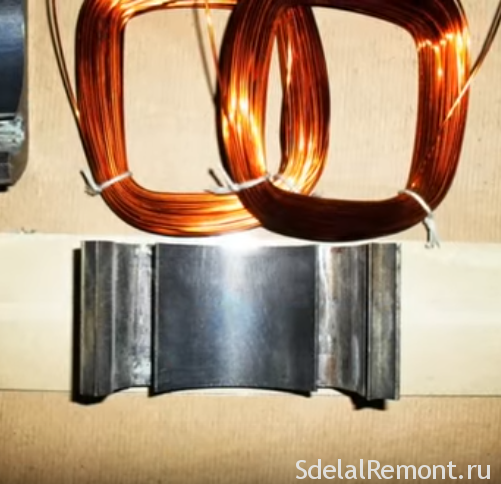
The main task of the impregnation of stator coils - get a monolithic structure, Do not ruin over time from vibration. Before the beginning of the impregnation inside the stator inserted wooden spacers, Pincher coil. Work should be done carefully and accurately.
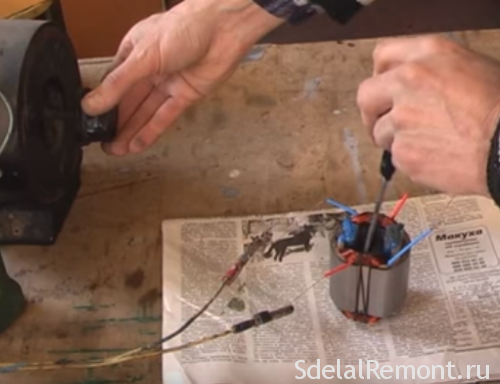
Under ideal conditions for the impregnation need a transformer. The impregnation of the coils is recommended under stress, the wires vibrated and heated. This enables impregnation zatech into all the cracks. Voltage is applied across winding small, before the advent of vibration. It can be easily detected, screwdriver leaning against the inner surface of the rotor.
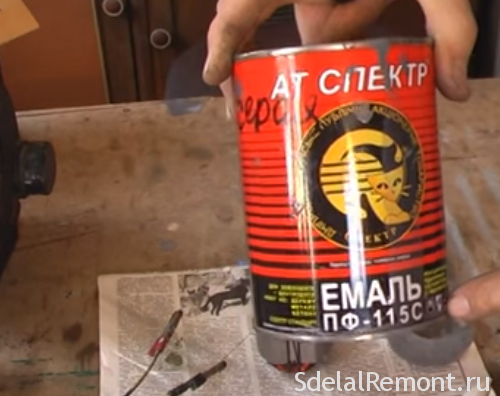
Ideally, use a special paint and apply it in several layers. You can also use ordinary paint for indoor painting indoor brand PF-115. reflux 50 g dye in a separate bowl, dilute it with solvent to the consistency of some water.
using a syringe, dial and enter the paint in small portions to the stator coil to full penetration into the middle of the coil. The stator in this case must be warm and is connected to an AC source. The source is better to use a transformer, the primary winding of which is fed through LATR.
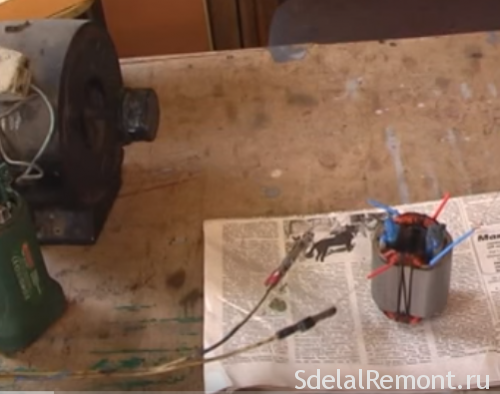
Do not forget to monitor the temperature of the stator. At the touch of a hand is difficult to withstand temperature of the body. At higher temperatures decrease the supply voltage to the transformer by means Latro.
The consistency of the paint depends on the diameter of wire. The thicker wire, the thicker the paint. The impregnation of the lead until the bottom of the paint. turning stator, continue impregnation. Under the direction of the stator, leave to dry completely.
The stator is impregnated and, after purification from traces of paint on the inner surface of the stator, ready-to-assemble.
Impregnation and the stator winding:
Now you can start assembly punch Makita. If you think, it's difficult, the job of rewinding better Rely on professionals.