Standard balconies structurally represented as cold concrete slabs. And it's not the most attractive option cover. Therefore becomes an important issue not only, how to align the floor on the balcony, but in addition, and laying the floor on the balcony. Quite frequent one coating arrangement it becomes tile, therefore it is necessary to consider all the advantages of such a coating, and most importantly, its implementation technology.
Advantages of tiled floor on the balcony
first, it is worth noting, is a number of advantages of such a coating. To begin with we recall, the tile itself has a number of advantages, such as:
- The high level of strength and frost resistance.
- Attractive appearance.
- Durability and longevity.
- Resistance to chemical and mechanical action.
- Easy maintenance and operation.
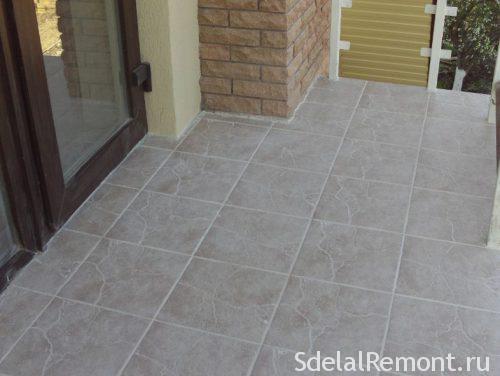
This type of coating virtually ideal, but there are several significant shortcomings, because of which it is not used in residential areas.
- It becomes the first high thermal conductivity, whereby it transmits a base temperature, that is, the material is cold.
- And the second becomes a reflecting function, which makes the room quite boomy and uncomfortable.
But in the conditions of a small area, these deficiencies are not strongly reflected, because in this case the balcony is not operated frequently, because here flooring tiles can be considered just as perfect, as far as it is suitable for the kitchen or bathroom.
The choice of material
Before, how to put the tiles on the balcony, You need to decide with her choice. First, consider the main types of tiles, then proceed to the selection criteria.
Types of tiles for balcony
- The first one becomes tile. As a part of it can be found clay, sand and some additives. Also covered glaze tile, which determines the color, drawing and general invoice.
- The following is noted granite. Material, due to its production technology, resistant to temperature extremes, It has good frost, and corresponds to the characteristics of natural stone in particular hardiness, strength and water absorption. A disadvantage of the high cost of getting.
- Another fairly reliable, and most importantly durable coating is a clinker tiles. Such a material cheaper stoneware, while its characteristics are not much inferior to him.
- One of the new types of tiles, based on polymeric materials is kvartsevinilovaya. As part of 80 percent quartz sand and PVC. It has a high level of strength, virtually erased. On top of the decorative layer is applied polyurethane film, which ensures durability.
- And the last view becomes cotto. Recently it is becoming more popular due to increase in the range of, due to the beginning of the application of glaze, which have not been.
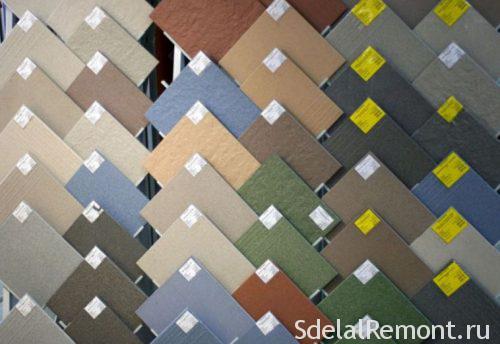
Criteria for selection of tiles
And now should decide, some tiles lay on the balcony. There are nuances of their choice, so let's consider them in order:
- In the first place the material should not be heavy, to not overload the balcony. Which is especially important when an already installed glazing and decoration. It is because, Massive kinds of tiles will not fit. Preferring to be material to the level of wear resistance PEI-3.
- It is also desirable to choose materials of large size, because they visually reduce the already small space.
- Another factor is the dark tiles, it is also desirable to take for the same reason, that great. Well suited materials light or bright colors.
- When, when the balcony glazing has not been, acquire the necessary tile, and adhesive mixtures with high moisture resistance, because in this case the floor will be under the constant influence of climatic conditions.
- Also, the surface of the tiles should be selected rough, that it is not the result of an injury in a humid environment. A good option would also embossed tile.
In this way, following recommendations, you can decide, some tiles can be laid on the balcony.
Step by step instructions laying
And now we are about to work on the implementation of the instructions. As known, in the pre-preparation work is done better. That is why, first thing, we will look at tools and materials, which will be needed during the work
To begin, let's deal with tool:
- First and foremost - building level.
- Of course, Tile, or Bulgarian.
- rubber mallet.
- Roulette.
- A set of spatulas, Conventional gear and.
- Solution tank.
- Also, additionally need a pencil or marker, sponge and cloth.

Also, depending on the choice of method for floor leveling in the loggia or balcony will need an additional number of tools. For more details about how to align, the floor is poured on the balcony, etc.. we will consider further.
Preparatory stage
Firstly, As with other tiling, dismantling the old coating is carried out. Because without it you will increase the load removal, and possibly exceed it, which could then lead to the destruction of the balcony.
Permissible surface load:
- For balconies Soviet-built 200 kilograms per meter,
- For new homes to 400 kilogram.
In the case of irregularities may be needed on the balcony floor screed, which is held by one of several technologies:
- "Wet". Carried out with a special solution in which the concrete composition and sand. Pre layer of waterproofing and insulation keeps.
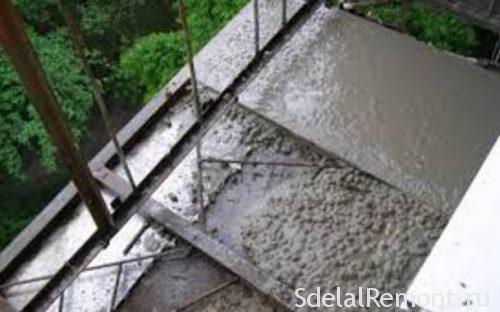
- Another embodiment becomes warm screed on the balcony. It performed a similar manner, as the first, but also provides for heating elements. In other words, the name of the system "warm floor".
- And the last option, how to align the floor, It becomes styling lag. such an alignment technique involves laying a waterproofing, which subsequently put lags. Further, the space between them is filled with heat insulation material. After which provides water-resistant plywood, and sheets gipsovolokonnyh.
More details about each of the methods, see the alignment of the individual materials:
Laying tiles
After solving the issue, how to align the floor on the balcony with your own hands, you can go directly to the laying. Sheer decoration should be carried out at a temperature of at least 10 degrees. Calibration is done according to the following sequence:
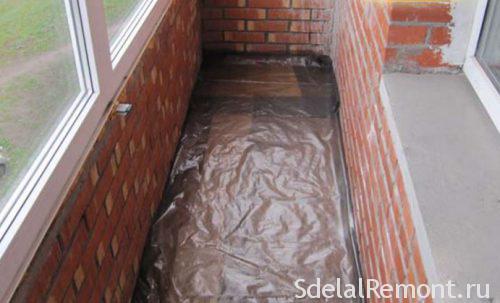
- First of all sheets are laid moisture-resistant polyethylene, floor screed.
- Then, a primer with a special compound, or prepared from conventional PVA adhesive solution.
- The next step is performed markup, form of which depends on the type of masonry. It is important to monitor the accuracy of marking, otherwise the tile can be laid correctly.
- She begins laying the floor center, carved the pieces are laid out on the edges, which will be invisible.
- prepared adhesive, portion of this size needs to be done, which will be used for 40 minutes.
- Apply with a notched trowel mixture on the floor surface, in the area to 1 square meter.
- The next step laid the first tile. check horizontality.
- Then begins the next blow, used for forming sutures floor leveling system, or crosses. In the case of granite, You can use the seamless masonry, It is giving the impression of a single cover, stacked one sheet material.
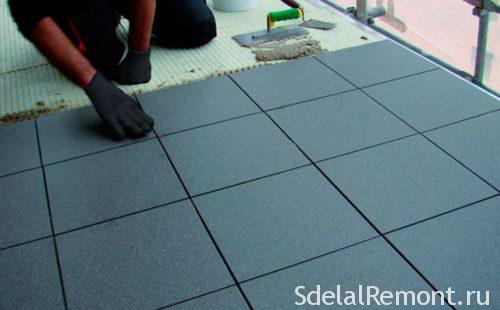
- a day later, at best a few days later, after laying held grouting, that is done with the help of a rubber spatula.
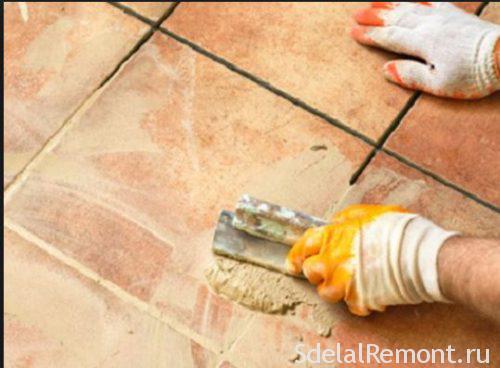
- And the last stage is the cleaning of the tiles from dirt and removal of excess grout.
In this work tiling is completed.
conclusion
As can be seen, tiling technology is virtually indistinguishable from the lining in the other rooms. The only difference becomes possible way floor leveling, which is rarely used. And finally, we offer watch a few videos, which clearly shows, how to align the floor and put the tiles on the balcony.


