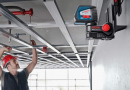
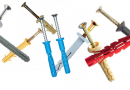
Plasterboard - very demanded material for finishing. It is popular because, that every normal host their own hands can assemble it your, unique ceiling. To do this, have a fairly small set of power tools at home and know the techniques for working with drywall and metal.
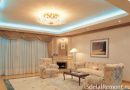
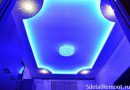
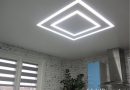
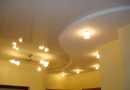
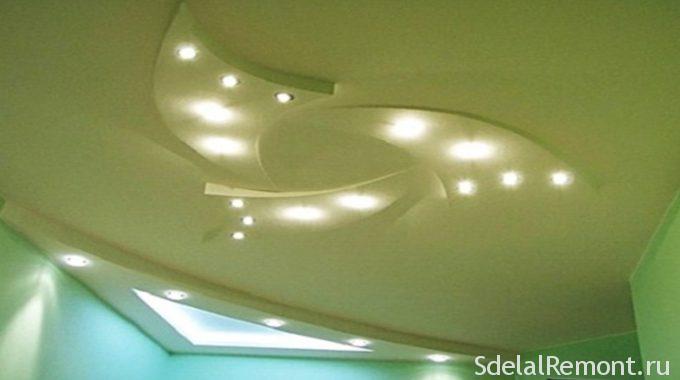
Make your apartment a unique help of new technologies and your creativity. Duplex plasterboard opens up opportunities for the realization of the most daring fantasies. If desired, it can be given a variety of forms, and the use of spotlights along with the usual chandelier will transform an ordinary ceiling into a work of art.
In addition, a ceiling when properly installed will last for decades with little maintenance. And do not bother, we need only make minimal changes. for example, change colors or move to another location lighting.
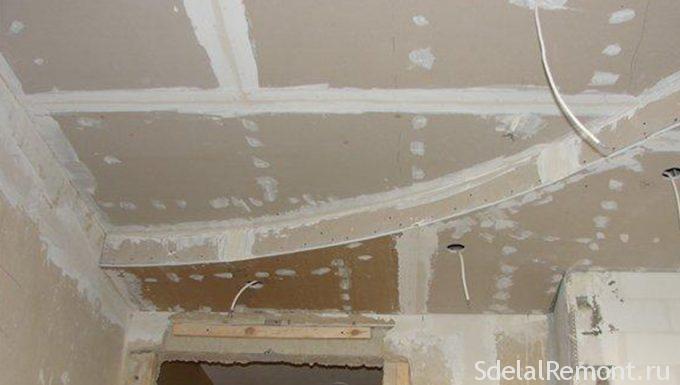
Create a metal frame ceiling in the home
frame for a two-level ceiling of plasterboard can be easily mounted on their own, even if there is no experience of similar works. Most of the men in our country - are born builders, true, many do not know it. And we need to get an assistant - alone this amount of work is difficult to perform.
The most basic rule in complex work - nothing to do "by eye". Only drawings and sketches, Only precise measurements, Only correct markup help avoid mistakes during the work.
Plasterboard in two layers can be done in two ways:
- In the beginning it is the first, the highest level over the entire ceiling area. Then attached thereto lathing second level;
- set a second level, lower. Then the frame is mounted higher part of the ceiling of the future.
Take a look at this in more detail.
A first method of setting the frame profiles
The first method is pretty easy to implement and understand. Partitioning and installation of a single-layer frame around the perimeter of the ceiling is simple. But there are some subtleties in the arrangement of ceiling profiles. They will help to make the design robust and reliable, at a reasonable cost manpower and resources.
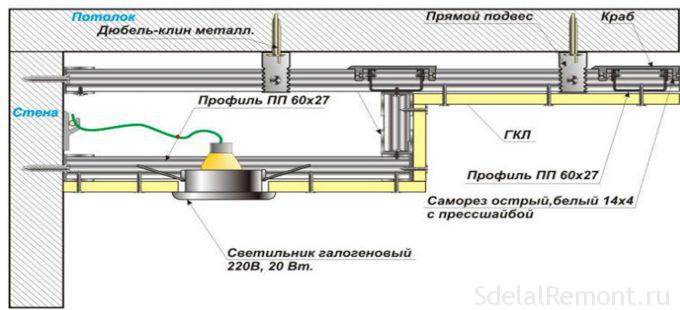
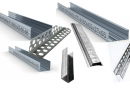
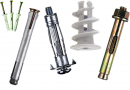
To make such a frame of a two-level ceiling of plasterboard, They will need Guiding sections for ceiling profiles (Pius PP) and ceiling profiles (PP). The guide profile is attached to all the walls of the room. At the same marking line must not deviate from the selected horizontal. The layout of the line is best done using a laser level and otbivochnogo paint cord. Minimum indent from the former ceiling to the next line - 6 cm. ANP have so, to markup passed bottom. To attach the wall profile using dowel-nails Ø6-8 mm with a distance between them 40-60 cm.
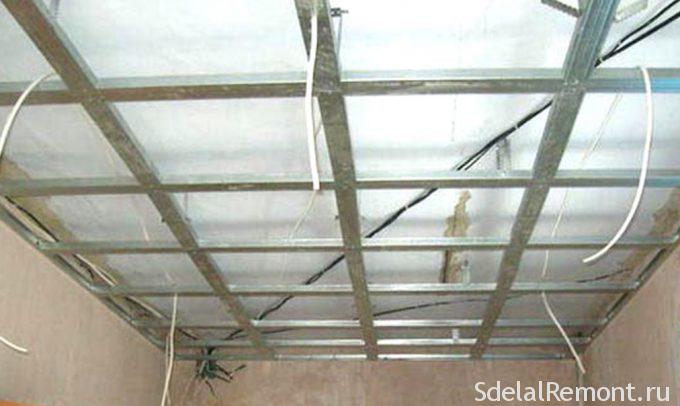
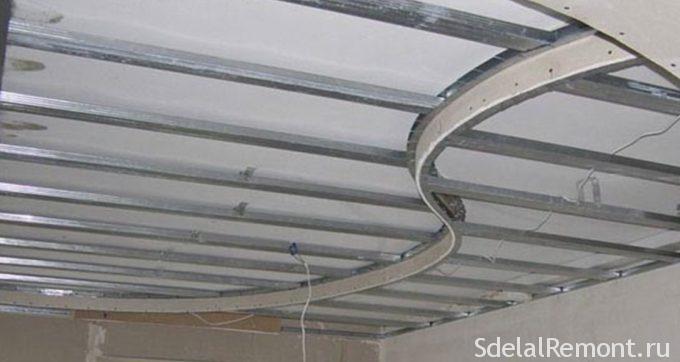
Ceiling profile in the crate is divided into longitudinal and transverse. They form rectangular cells, typically with sides 60x50 cm. Longitudinal is the basis of design, and is parallel to the longest wall of the room. It is attached to the ceiling straight hangers, which take up most of the weight of the sheets GCR. The suspension is fixed to the ceiling anchor-wedges for reliability.

The distance between the centers of the longitudinal profiles is equal to 60 cm, If a large area of the ceiling. One end of the PCB is put in the guide profile and is attracted to it softwood. Another fixed direct suspension, the closest to this end. horizon controlled laser level. Metal frame parts are joined together with screws 9mm. When the length of the profile insufficiently, him direct extension joins a missing segment of PP. this piece, naturally, a guide profile fixed to the ceiling and at least one suspension (depending on the segment length).
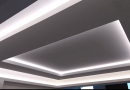
Transverse sections are segments PP, in which the length 0,5-1,0 cm less than the distance between the longitudinal profiles. Attached to the frame via their single-layer connector (crab) distance in 50 cm between the centers. Crab is fixed on all sides for reliability. The resulting frame is as follows:
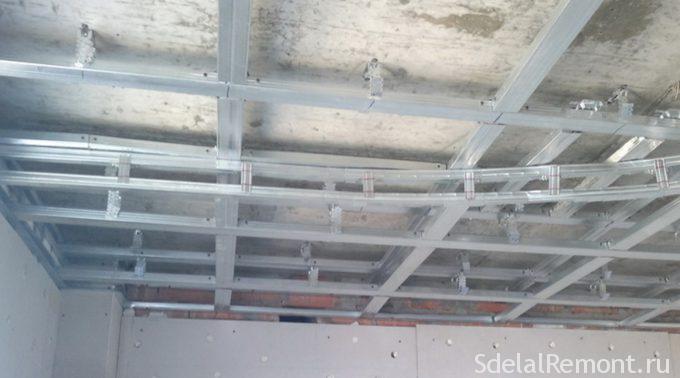
For narrow rooms and corridors wide 2,5-3 m makes sense to arrange the longitudinal cross sections at a distance 40 cm. In this case, enough to build only one line of the transverse profiles in the middle of the ceiling (cm. pictured below).
The resulting construct two-level ceiling of plasterboard must be reliable. To test it, try to undermine the strength of the frame. If there is slack, tighten the screws to the end or add an extra few pieces in problem areas.
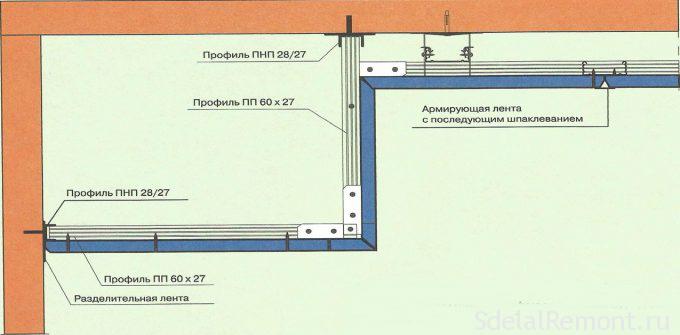
The second level is created in such a way. To attach the wall guiding profile for the first level; distance is equal to the height of the planned, but not less 6 cm. On the assembled crate applied to a new level line. Along this line, attached with screws PN guide profile. Then in this profile are inserted and fastened with screws pieces PP; their length corresponds to the height of the ceiling of the 2nd level. Below their ends close another PNP with fixing screws.
Installation of the two-level ceiling of plasterboard connection ends of the guide profile, attached to the wall, and the boundaries of the new parts of the ceiling level profile desired length. One end of the segment is inserted into the TNG, and other scissors metal cut to 3 see on the fold line. Side lobes unbent. Then all three get petals are attached with screws to the profile level boundaries.
Often to create an undulating border of the second layer was used instead of conventional profiles arched. In this case, the height of the ceiling will increase the width of the arched profile.
Run the wiring to the site of the future location of lighting fixtures and chandeliers. Wires take refuge in special dielectric corrugated tube, plastic ties that are attached to the suspensions. Lay exposed wiring is not recommended in PP!The frame under the two-level ceiling of plasterboard ready.
Second, a common way to frame installation
Installation of the roof battens the second method often used by professionals.
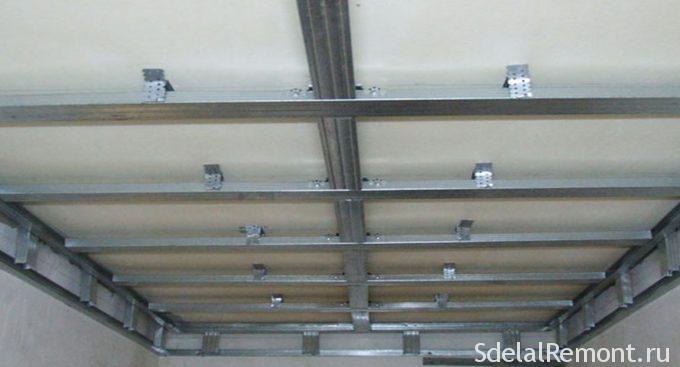
In this case, the first is the second level of the ceiling plasterboard. Respectively, on the walls with the level applied next line of the ceiling in places, where he is scheduled to be held on the wall. On the ceiling of the second level draw a line border, along which are fixed-anchor wedges guide profile.
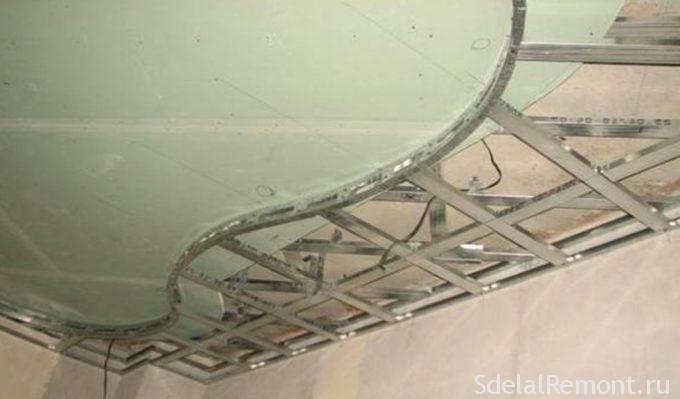
PP profile is cut in the required amount in parts, the length of which is equal to the height of the ceiling of the future low. Then, the frame assembly is held so, as described above for the second layer. In that case, if the width is greater than the level 40 cm, It is recommended that the crabs cross pieces of ceiling profile (cm. a photo).
Then, a first level. Its installation does not differ from that, as described above for the first manufacturing method, the carcass. The only difference is that, that the PPP for this level is not fixed to the wall, and to the segments at the border of the second profile level. If this limit is curvilinear, many master preliminarily fixed on this surface strip plasterboard, as in the photo below.
The entire framework necessarily tested for durability. After installation of gypsum sheets it has to withstand a decent weight. It depends on the strength of the frame, How many years will serve you for the ceiling.
Then laid electric cables and wires, if necessary, installed ventilation. Proceed to finish the ceiling with plaster sheets.
Plasterboard cladding and finishing works
FCL in practice is often divided into three main types:
- arch (thickness 6,5 mm);
- ceiling (thickness 9,5 mm);
- wall (thickness 12,5 mm).
Ceiling is so named because, that it is thinner and, respectively, easier to wall. Therefore, it will be less of a hassle. Sheathe a two-story ceiling plasterboard is not very difficult. A lot of time and patience to take a wavy line, here it will be difficult without the experience of working with GCR. But do not say nothing: "No gods pots". The band thickness of the arch plasterboard 6,5 mm lends itself well to bending.
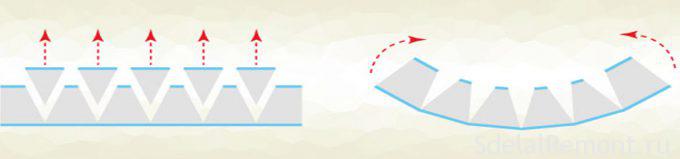
This can be done in two ways. In the first method on the strip of cuts made across the FCL. In this case, the outer side of the strip remains intact. The steeper radius, the closer to each other, these sections are located.
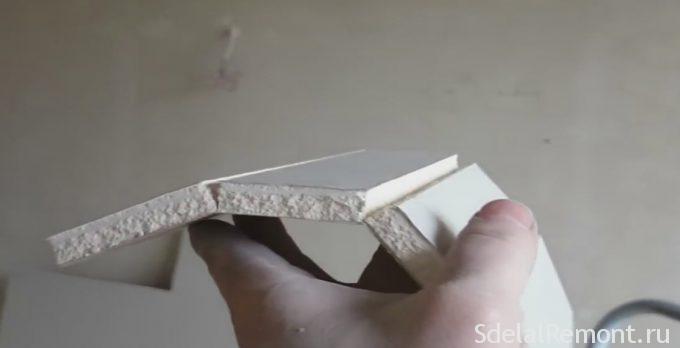
The strip is then screwed into place by screws gypsum fine pitch turns. This method is used for the sheathing of small width, eg, Differential corrugated between the levels. the slot is not straight in the drywall to the outer radius, a V-shaped.
The disadvantage of this method is the lack of smoothness radius. In order to give clarity to the curvature of the surface will have to carefully putty.
The second method is as follows:. One side of the desired width of the sheet as much as possible puncture tip construction knife. Then paperboard surface is wetted with water. It is advisable to place a strip on the curved surface so, so she bent slightly under its own weight. When the plaster is slightly dampen, plate is put in place, gradually bending and fixing screws. Naturally, outside must be intact side strip. bending line will smooth, but the installation will take more time. the details of bending the sheet of plasterboard.
Simple two-level ceiling of plasterboard sheathed quickly enough. There are a few moments, that you need to know when working with drywall:
- between the sheets must remain in clearance 1-2 mm to compensate for the possible movements due to changes in temperature and humidity;
- if drywall cut sheet, on the edge you need to make a bevel knife or special planers;
- GCR join you only in the middle of the profile - this will ensure reliable fastening sheet;
- cap screws slightly recessed in the surface of gypsum plaster for subsequent;
- when the distance between the fastening screws 30-35 cm, and the edge of the sheet - 2 cm.
Surface mounted drywall seams and joints primed. Shpaklyuyut special putty for joints.
After drying, the joints rubbing a thin layer of filler. In the wet layer applied special tape and its utaplivajut spatula primer. Cap screws and shpaklyuyut. The last thing to cut a hole under the lights.
In this two-level ceiling installation of the drywall is finished. Finishing depends on the chosen material. Typically, the surface is coated with several layers of putty, reticulum trimmed to obtain a perfectly flat surface and paint latex paint with the addition of caramel color. Possible sticking various materials for ceiling 3d photowall, close-fitting cloth. It all depends on your imagination.
Features ceiling design of the FCL in the kitchen
Trey ceilings made of plasterboard in the kitchen usually sheathed waterproof GCR. This precaution is not superfluous, because the extractor removes the pair not for all 100%. Such drywall slightly higher cost, but it is offset by an increase in the duration of your service ceiling.
The design of the kitchen ceiling is largely dependent on the choice of style, as well as the size of the room. In small rooms is better to have a second level on the perimeter of the room. Selection will look bad "dining" area illuminated spotlights.
Ceiling desirable finish and creamy beige shades. These colors visually expand the boundaries of the kitchen. Bright chandelier complement this effect.
Installation of the two-level ceiling of plasterboard with their hands for years to come will be for you a source of pride and self-confidence.