The process of spackling, no matter how well executed, It does not allow to obtain a perfectly flat surface. On the wall there are traces of the spatula, transitions between the layers, see small bumps, bumps and hollows.
Without surface grinding you can not do. Grinding process is terminated, preparers surface at the final finish.
Run sanding after putty can anyone, having the desire, patience and persistence. the main thing, to choose the right tool, Consumables and Accessories, Know performance technology.
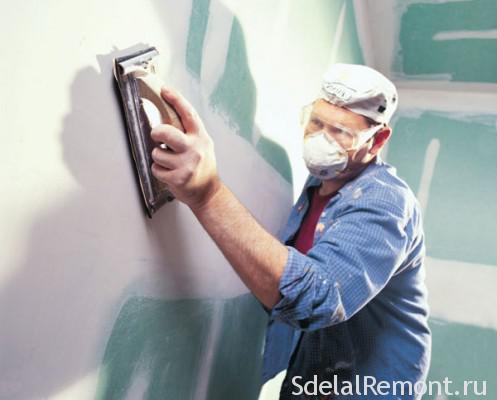
Grinding is performed dry or wet. Wet sand is suitable to drywall, plastered walls under the rule. The main advantage of the wet grinding process relatively clean. You will not disturb the dust, Mandatory present when grinding dry. subsequent cleaning process goodbye.
In a home repair is more often used dry grinding.
rule 1
Grinding after spackling done not earlier, than 24 hours after application of putty layer.
Tips for Choosing a tool, and abrasive tools
Without properly selected tools and equipment to produce high quality grinding walls after the putty will not work.
You should be:
- sandpaper and sanding mesh;
- sanding sponge with cut edges at an angle, allows to perform grinding in inaccessible places.
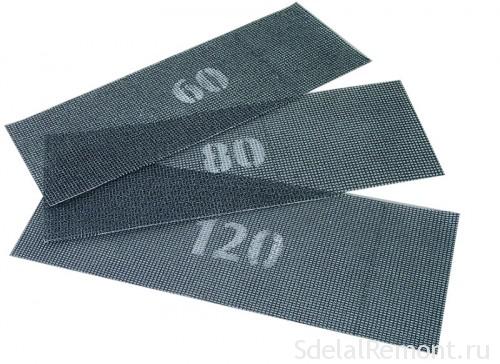
immediately, we note, Sanding grid is not clogged with dust during operation, but is more expensive sandpaper.
You must purchase a grinding bar or mandrel to fix the sandpaper or sanding mesh. This device is properly called manual shkuroterom.
rule 2
Abrasive paper has a different grain, and it is important for sanding walls and ceilings under the under painting. rooms with 20 by 220 indicate coarse material structure, number 250-2500 correspond with fine sandpaper.
Of the appliances you will definitely need a stepladder, lamp or projector, wide spatula. Suit and a wide table or goats, if their height allows to perform work on the ceiling.
To ensure when performing grinding work safety be sure to buy goggles, mask or respirator, cap, beret or shawl.
We now turn to the process of surface grinding after spackling.
Polishing of wall and ceiling after the filler is performed in a well-lit, ventilated area to dry completely.
the walls of the grinding technology
In the first stage with a spatula walk across the surface of the wall. remove lumps, all sorts of projections, accretions. Upon detection of large depressions or pits them zashpaklyuyte, do not try to lead by means of grinding.
rule 3
By grinding start only completely dry surface.
rule 4
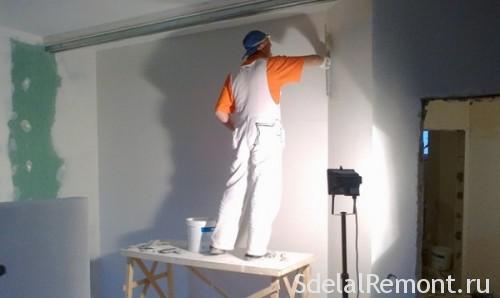
It is necessary to establish high-quality lighting on the one hand at an angle to the surface. His position can not be changed during the grinding cycle.
The second step comprises treating the surface of coarse sandpaper or sand mesh. Consumable is mounted on the grinding bar.
Grinding surface from the top downwards, treating small areas of rotational motion. Plot size should not exceed 1 × 1 m.
Grind better top-down strips no wider than 1 m. Arm movements are produced when grinding circle, but you can move up and down or vlevo˗vpravo.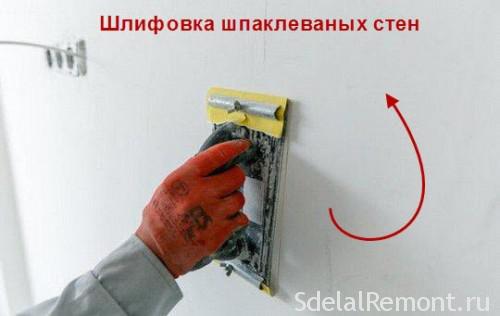
It is not necessary to press strongly on the tool and the long grind in one place. You can delete the entire layer of putty.
Having the entire surface of the coarse abrasive, Continue sanding using fine nazhdachki. When using a fine emery material required to hold the light source as close as possible to the wall.
rule 5
The finish grinding is performed less sweeping movements with less force pressure on the tool.
Hard to reach areas are sanded using sanding sponges or antiquated method, folding several layers of sandpaper.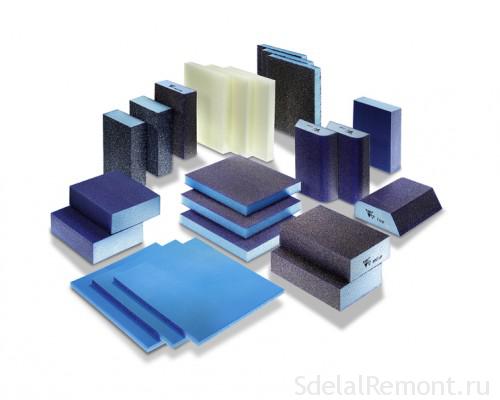
Never treat the corners and hard to reach places using shkurotera. You just spoil the surface.
rule 6
Choose the right granularity Consumables. Properly selected sandpaper should not leave deep scratches on plaster.
If abrasive scratchin, Choose a fine sandpaper. Under wallpaper permitted on a polished surface after putty minor scratches. But under the surface of the painting of the walls must be absolutely flat. Read, how to prepare paintable wall.
The grinding process is time consuming and requires considerable effort to perform. It can be mechanized, if you use a special grinder. Issued grinders, providing for connection of a vacuum cleaner, which makes the grinding process is virtually dust-free.
Do not use belt sanders. They are suitable to work with wood. Suitable eccentric or orbital sander.
Although the use of sander grinding process accelerates, having no special skills to obtain high-quality polished surface is very difficult novice builder.
It is necessary to feel the tool is not only the right to move, but also to regulate the pressing force on the tool being grinded plane. And there is such a tool is quite expensive.
After grinding to remove the dust layer, do wet cleaning, and check the quality of the surface. Before finishing layer is required to be applied primer.
Council 1
Novice builder is better to use manual grinding
adaptations.
Grinding of the ceiling does not differ from the grinding wall. Process more time-consuming and requires patience and accuracy.
Once again on the abrasive material
Sanding mesh is more convenient, than sandpaper, because they do not clog with dust and debris during operation. But correctly chosen abrasive paper also gives good results, besides, it is much cheaper. When the sanding after putty walls with his own hands is better to use the sandpaper numbers 120 ... 180 (coarse-grained), and finish grinding to perform abrasive rooms 220-280 (fine-grained).
Council 2
The first layer of putty grind using large abrasive grit №120-180. Second layer putties to be used with smaller abrasive grit №220-280.
Sandpaper and grid marked equally, the reverse side of the fabric.
How to control the quality of grinding?
At the beginning of the article stated, that the grinding process should be carried out in good light, constantly sent from one place. Properly tuned lighting allows you to constantly monitor the grinding process and the quality of glare on the surface or lumen, applying a flat line, building level. Between the reference instrument and the wall should be no gaps.
When it comes to the ceiling, and he is preparing for painting, ceiling need to grind higher quality. grinding zone illumination light, This allows you to see surface defects. Visible scratches shpaklyuyut and after drying are stripped.
Turning work ends thorough cleaning of surfaces and premises and applying primer on the dried and ground surface.
In addition, we recommend to watch the video on grinding walls and ceilings. Good luck with that dusty case!


